Saturday, December 8, 2012

Boudain Breakfast Buscuits

     So something a little different today.  I am not sure when exactly I came up with this, but I introduced them to my husband when we were first dating over three years ago.

     There is this delicious doughnut and kolache place not far down the road from where I grew up.  I came to find out (as my husband is from Kansas) that both boudain, and kolaches are a southern thing.  Kolache's (ko-lach-ees) are not to be confused with the northern variation Kolackys (ko-lach-kees).  The southern version is a sweet flaky bread that typically has sausage in the middle, often with cheese and jalapenos, and I have discovered after moving to Illinois that the northern version is more of a pastry with fruit inside.

      Anyway, since moving up here I have not gotten my hands on any boudain in the year and a half I have been near Chicago.  Nonetheless, while visiting family in Texas, we packed a cooler with as many packages of boudain and dry ice as we could fit, and brought some up here with us.  After getting my husband addicted to the stuff, we started making these delicious things again.  So any of you lucky enough to live close enough to Louisiana to get a hold of the stuff (or maybe you can beg your local grocery store to start ordering it) here is my very easy recipe:

BOUDAIN BREAKFAST BISCUITS:


You should be able to click the image to make it larger, but just in case here are the steps:

Ingredients:

-One link of boudain
-One container of homestyle buttermilk biscuits
-Cheddar Cheese

Step One: Preheat oven according to biscuit instructions.  Cut boudain into 1/2 to 1 inch slices
Step Two: Peal each biscuit in half; make a small circular indention in the middle with your thumb.
Step Three: Place small amount of cheese, and one slice of boudain in the center.
Step Four: Pinch edges of biscuit to seal.
Step Five: Grease baking sheet, and place finished biscuits onto the pan.
Step Six: Bake biscuits according to the instructions on the package, or until golden brown.
Step Seven: Enjoy!

Wednesday, April 4, 2012

"Molly"


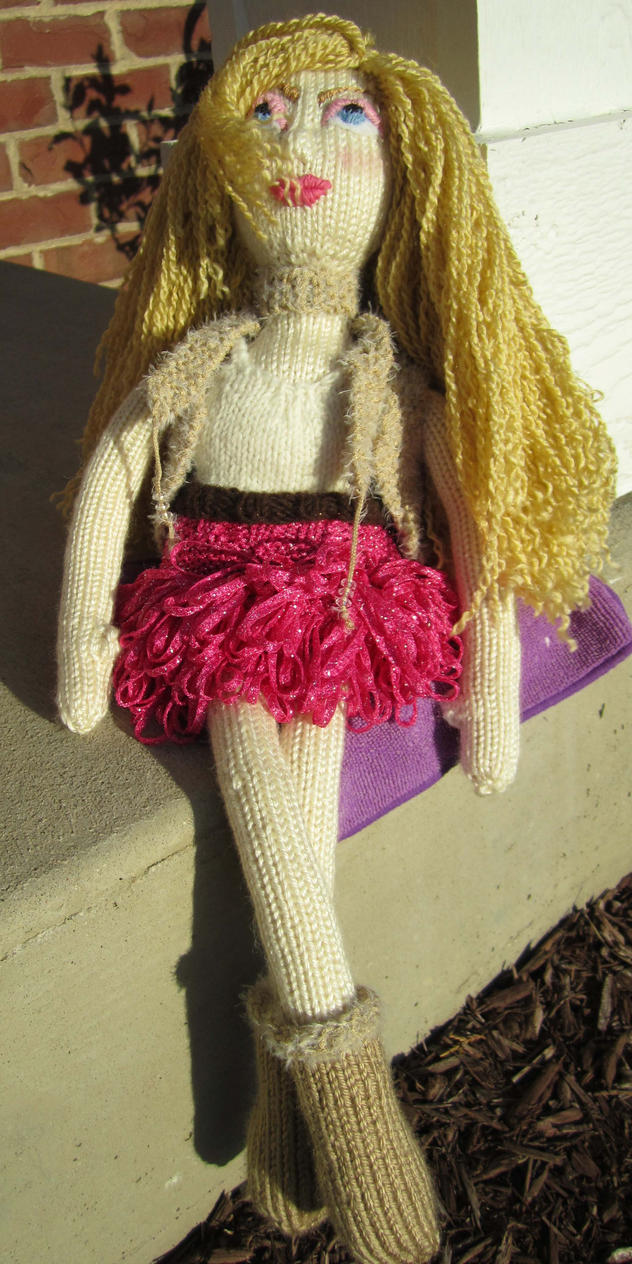
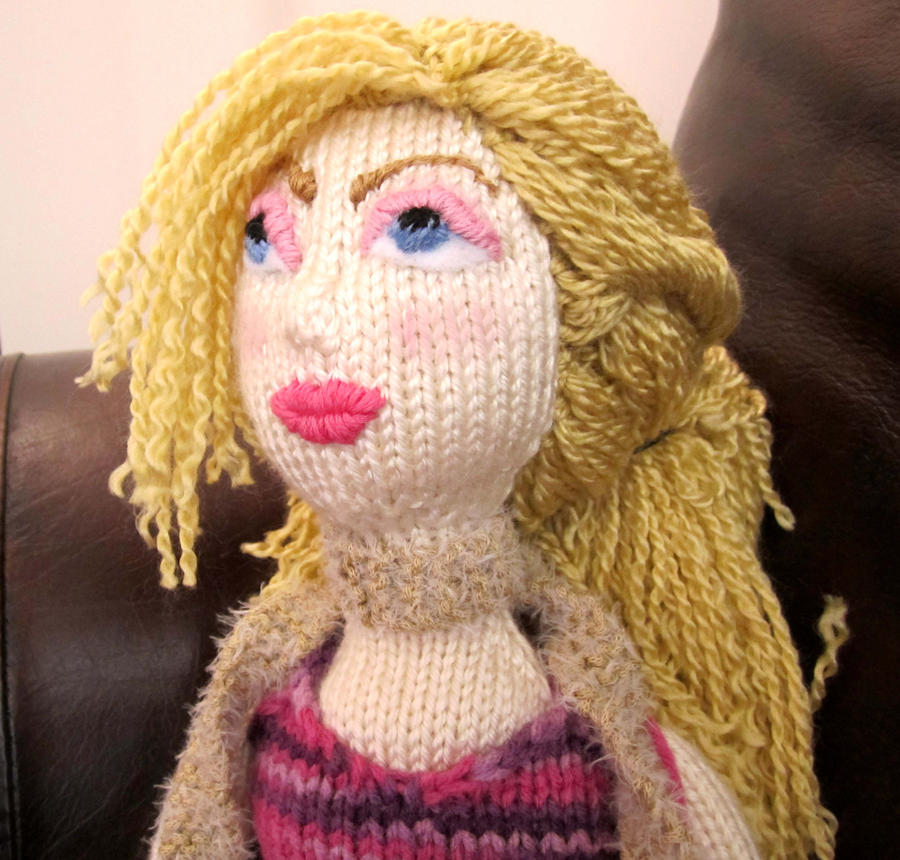
     I put off finishing Dezmond to make this cute little doll.  I am giving her the name "Molly" until her new owner renames her.  My cousin requested I make a doll for her 5-year-old niece, and I couldn't resist!  She told me the little girl had curly blonde hair, blue eyes, likes pink and sparkly stuff.  This left lots of room for creativity!!  This is a slightly smaller doll than the others I have made, and everything on the face is embroidered to make it more study for playing.


This is her Fall Outfit, a cute brown knitted sweater, a frilly sparkly pink skirt, and boots with fur on them.


Molly's spring outfit.  A light twirling scarf with beading, a white, brown, and pink tank-top, her pink sparkly skirt, and some lighter boots.


Molly's evening gown, with her light boots and twirly scarf, this time with her hair pulled back and twirled.


Tuesday, March 6, 2012

Sabrina


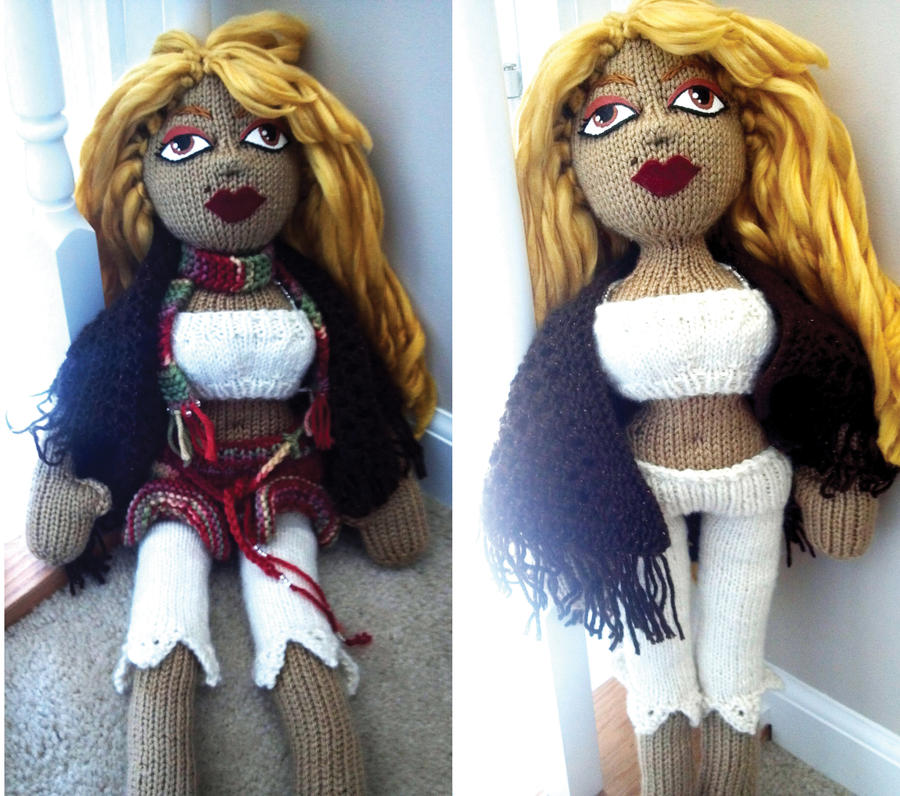
I wanted to post some pictures of my first knitted fashion doll, Sabrina.  She is based off of Fiona McDonald's design in her book "Babes in the Wool".  She was extremely fun to make, and I plan to make more outfits for her :-)


Sabrina Likes Posing for the Camera :-)


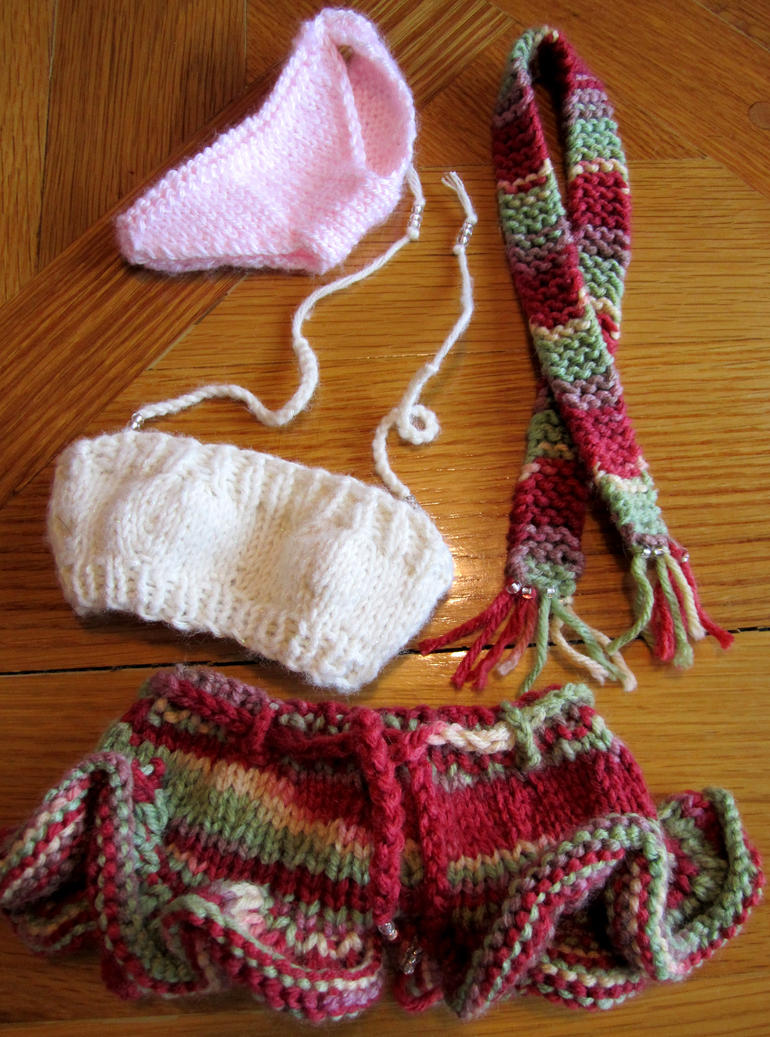
Sabrina loves being fashionable, following the current trends of tight, scarves, and colorful skirts.


I plan on making her a nice party dress, and maybe some frilly sleep clothes.


Monday, February 13, 2012

Frilly Tights

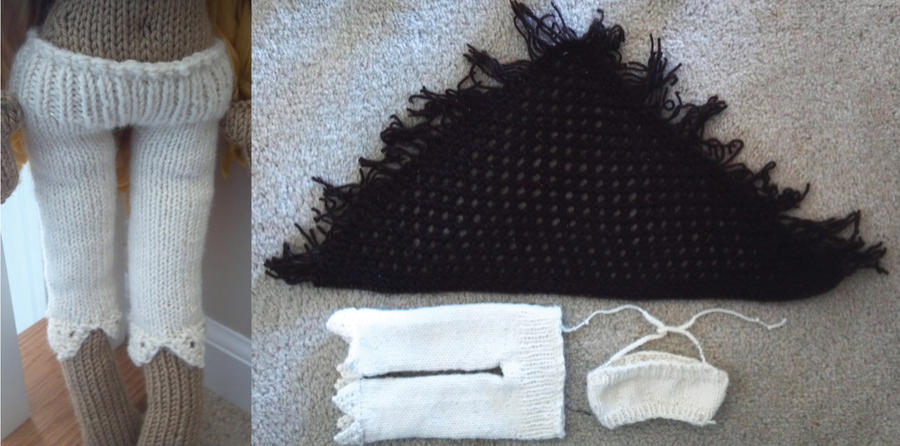
Frilly tights I designed for Fiona McDonald's "Babes in the Wool" dolls.


Frilled Tights:
(I used Red Heart Shimmer yarn, it is a worsted weight, but seems thinner then most regular worsted)

I knit this pattern in the round to make mostly seamless tights.

Frills:

Using size US2 (2.75 mm) needles cast on 1 st.
Row 1: (WS) inc 1 st in first st [2 st].
Row 2: knit.
Row 3: YO, k2 [3 st].
Row 4: YO, K1, YO, K2 [5 st].
Row 5: YO, K2tog, P1, K2.
Row 6: YO, K2tog, knit to end.
Row 7: YO, K2tog, P1, K2.
Row 8: YO, K2tog, YO, K2, YO, K2 [7 st].
Row 9: YO, K2tog, K1, P1, K3.
Row 10: YO, K2tog, knit to end.
Row 11: YO, K2tog, K1, P1, K3.

Break yarn and transfer to stitch holder.

Make 3 more.  (On the 4th frill you make, do not break yarn.  Use it to start the next row so that there are less ends to weave in.)

(You will make 4 more for the next leg, but you can do that later so that you do not have to use two stitch holder)

Divide stitches from all four frills onto 3 double pointed needles (I switched to size US 4 [3.5 mm] needles, but if you have a hard time fitting the stitches you can move them to size US 2 [2.75 mm], and knit the next row with size 4), starting with the last stitch of the last frill, then all stitches from 1st frill, all stitches from 2nd frill, all stitches from 3rd frill, and first 6 stitches from the 4th frill.

Okay now done with the complicated confusing part.

Stocking Legs (Make two):

Row 1: K2tog (knitting the last stitch of the 4th frill and 1st stitch of the 1st frill), K5, K2tog, K5, K2tog, K5, K2tog, K5.
Row 2: K11, inc 1 st in the next st, K11, inc 1 st in the next st.
Row 3: Knit all stitches.
      SS Stitch until leg measures desired length (you can make them above the knee, just below the knee, or down to the ankles)


Hips and Waist of Stockings:

Place from of stockings onto one needle, and back of stockings onto another. (Still using US 4 [3.5 mm]).


Row 1: K13, CO6 st, K 26, CO6 st, K13.
Rows 2-10: SS stitch.
Rows 11-18: Switch to size US 3 needles, (K1, P1) repeat to the end of the row.

CO using Jeny’s Surprisingly Stretchy Bind-off. http://www.youtube.com/watch?v=abBhe-JYmgI&list=PL10226E7DC51857B3&index=22&feature=plpp_video

Sew together the seam at the bottom of the hips.

NOTE: A lot of times to make the waist (or any ribbing) as snug as I can get and still be stretchy I use very thin stretchy bead & jewelry cord, weave it through the inside of the stitches , slide it onto my doll, and pull it snug then tie it off.  This acts as an elastic waistband.